Recently a friend gave me several hundred wine corks because “I’m crafty”. After completing one month of the MinsgameBOSS challenge in November of 2015 I realized that these are taking up precious space and I should either use them or get rid of them. So after much thought I decided it would be fun for my daughter and I to make bird houses out of the wine corks. There is no right or wrong way to assemble these, just make sure you are using a glue that will hold up.
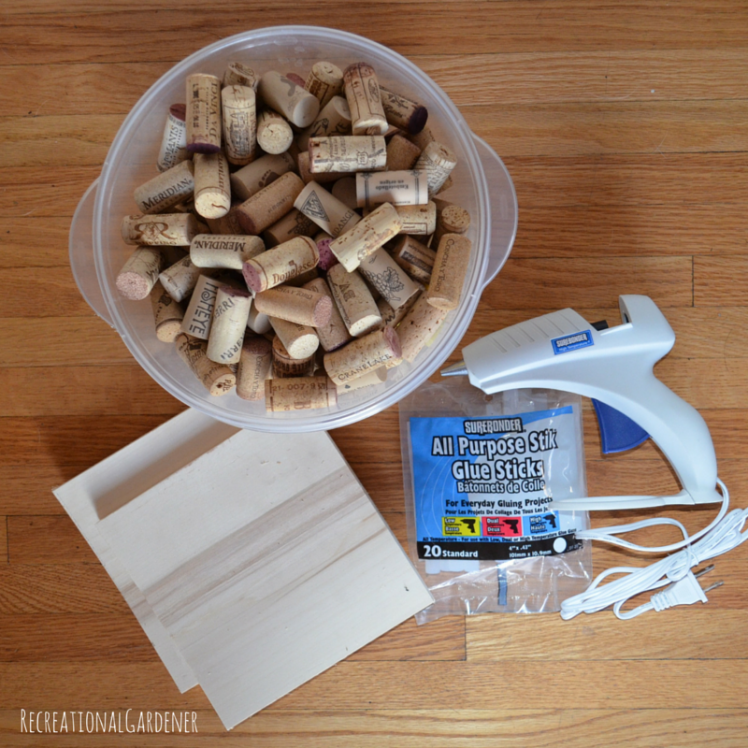
Supplies:
- Hot Glue Gun & Glue Sticks
- Wood Base – You Choose the Size
- Lots and Lots of Wine Corks
Directions:
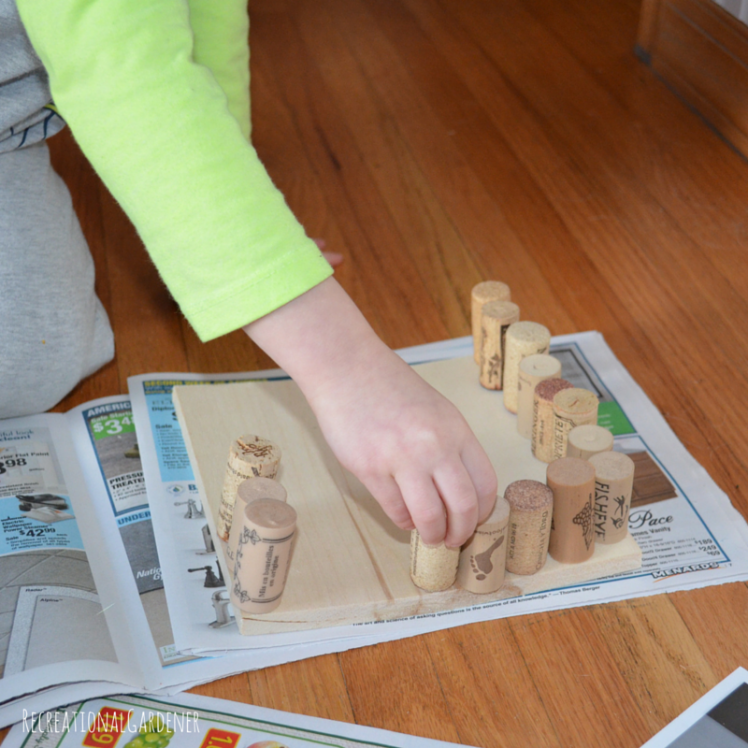
We selected a 1/2″ thick 8″x8″ square piece of Aspen wood to use for each of our bird house bases. Next we fired up the hot glue gun and while waiting for that to be ready I explained the different ways we could make the walls with wine corks.
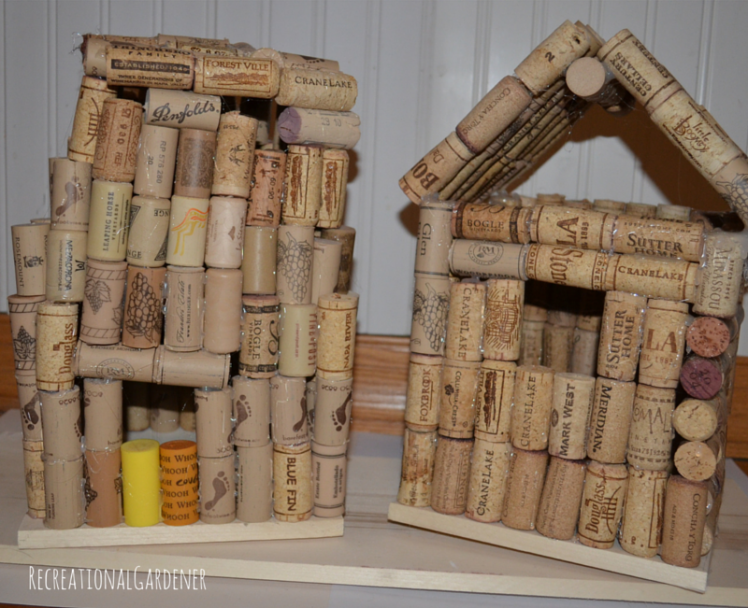
You can either stack the corks vertically or lay them on their sides horizontally. It felt a bit like building with Lincoln Logs as a child as you want to make sure they are somewhat the same size as the corks by them. If you want to be really fancy you can arrange your corks so that any words or logos show on the outside of your house.
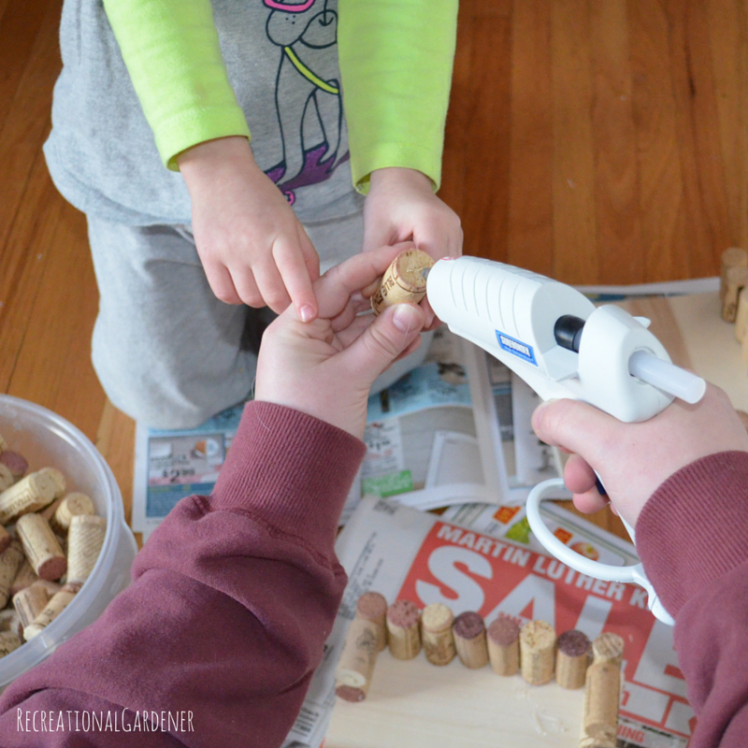
Once the hot glue gun is ready, apply some glue on the side that will be going on the wood base then place as desired. For each cork after, place glue on the “bottom” and on the side that will be next to the previous cork so that it adds a bit of support to your structure.
We assembled two rows of corks then on the third row each left an opening for our future family of birds to enter through. An alternative would be to build the whole house then cut out an opening.
For the roof there are a few choices. I thought it would be fun to gather some sticks from the yard and make a roof of sticks, but….my daughter wasn’t down for that so we made our roofs with wine corks.
On my first attempt I started by gluing down a row of corks at an angle, then adding more rows from each side. In my mind this would create a perfect A-frame roof, however I didn’t factor in the angles early enough and it ended up uneven and a little strange. I cut that roof off and then we decided to assemble each side of the roof separately on a flat surface and THEN glue it to the house so that the angles would match up better.
At the end of the project I’d say we spent about 2 hours, over 2 days, total working on it. This includes time laying out our corks, assembling, and then creating a roof. It was very fun and my daughter can’t wait to bring her new bird house to the cabin this summer!


They look great! Thanks for linking to my post! 🙂
LikeLike
What a sweet project to complete with your daughter! I’d like to feature this post tomorrow at Tuesdays with a Twist! -Marci @ Stone Cottage Adventures
LikeLike
Thanks Marci!
LikeLike
Very creative! Thanks for sharing at Dishing It & Digging It!
LikeLiked by 1 person